Whether you are taking your first steps into the pizza-making world or you are looking to up your pizza game, this article will teach you everything you need to know to proof your pizza dough to perfection.
By the way, If you are still looking for the best pizza dough recipe, look no further, check out our how to Pizza Dough Recipe.
What Is Proofing Pizza Dough?
In a nutshell, proofing is a stage in the pizza making process where the dough is left to rise, after being cut and shaped into dough balls. This process allows the yeast to ferment which adds to the flavour and texture. Pizza needs this proof to fill the dough with small bubbles of carbon dioxide. This leaves empty pockets when baked, to give the dough a light, airy texture.
What is Rising and Fermentation?
Rising (also called bulk fermentation or first rise) is usually used to describe the initial leave, when the dough rises as one-mass while resting in a bowl. This process happens before you actually cut the dough (from the bulk) shaping it into dough-balls.
Fermentation is actually a description of the chemical process, where enzymes break down carbohydrates (sugar) into CO2.
How to Proof Pizza Dough - 5 Easy Steps
The process of proofing pizza dough consists of a two-step process, the bulk fermentation (rising), followed by proofing each individual pizza dough ball. But of course, you still need to make the dough, knead it and make dough balls. So let's get to it!
1. Make the Dough
The first step to get your pizza dough ready, is to well ... make the dough. We recommend our simple pizza dough. This recipe will give you an amazing pizza crust that’s light and soft on the inside, and nice and crispy on the outside.
2. Kneading the Dough
Kneading the dough is one of the most important steps, but often a step that’s overlooked. Many people do the mistake of not kneading their dough enough leading to problems down the road, when you’re going to start rising the dough.
When you knead the pizza dough, the gluten in the flour will develop, and create a network of small walls. These walls will trap the CO2 created by the fermentation process, where yeast is eating the sugars in the flour. It’s therefore important to develop gluten properly, to create strong enough walls to hold the CO2. This is done by kneading the dough. The more you knead the dough, the stronger the gluten walls are going get. And the stronger the walls are, the more the dough will keep is structure and shape.
If you don’t knead the dough enough, it’s not going to be able to hold on to the CO2. The reason is that the walls aren’t strong enough, and the CO2 will escape. You will then end up with a dense dough that’s not great to work with. You’ll also not get the light, fluffy consistency that we’re looking for in a pizza crust.
3. Bulk Fermentation
In this step, you let the dough rise in one, single mass. It’s during bulk fermentation most of the increase in volume will happen. The reason is that yeast works better in one single dough, rather than individual, smaller dough balls.
To bulk ferment your dough, simply place it in an airtight container or a bowl covered with plastic wrap. You want it to be airtight to prevent the surface of the dough from drying out. Depending on the type of dough you make, bulk fermentation can be anything from 2-24 hours.
4. Balling
Balling simply means dividing the dough into individual dough balls, one for each pizza
Gozney Kitchen In-House Chef Joe shows in this video how to divide, weigh and ball your Neapolitan pizza dough.

5. Final Proofing
The last step is to proof the dough balls. This is usually the longest step in the process. You can do the final proofing either at room temperature or at a lower temperature to slow it down. Pizza dough should proof in room temperature anywhere from 1 to 24-hours or even more. While cold-proofing a pizza dough can take anywhere from 24 to 72 hours.

What Temperature And For How Long?
There are two main methods of proofing your pizza dough and the best option depends on how much time you have available. Do you need a quick dough for a meal in a few hours time, or are you prepared to plan ahead and put some extra time in to producing a tastier dough?
Fermentation happens faster at higher temperatures. More CO2 will be released at a faster rate, but it takes longer for the flavour to develop and the dough to relax. The gluten network needs more time, and can’t easily be sped up like the yeast can be.
If you want to develop the flavour you need time. But supercharging the dough with warmth and leaving it for a long time will cause it to over proof. It will become floppy and sour tasting. So you must control this by turning down the temperature, as colder temperatures slow fermentation.
So with that being said, you can either do a quicker rise at a warmer temperature but have a pizza with less flavour and denser texture. Or a slower rise at a colder temperature, and generally speaking, a better pizza.
Good things come to those who wait, and so cold proofing your dough will produce the best results, but I understand time is not always on your side.
Quick Proof Dough
As the dough needs a helping hand to get going, make sure you are using enough yeast and a touch of sugar in your recipe. Ensure you are leaving your dough in an environment which is warm enough to get the yeast working faster.
The extra yeast is fairly obvious, and the extra sugar is some extra food for the yeast – it will make sure it is feeding and producing gas as an outcome.
The optimum temperature is in the range of 20C – 38C. This is usually just above room temperature, so try and find a warm spot in your house. The kitchen or boiler room are good places which are warm and consistent.
Method:
- Knead the dough until smooth
- Proof the dough for an hour, covered so it is air tight
- Split the dough into individual balls
- Proof the balls on the work top for 1-2 hours, covered with upturned bowls
- Stretch and bake
Outcomes:
- Fast and convenient
- Very little taste apart from yeast
- Dense and chewy
- It will snap back when stretching or rolling
Cold Proof Dough
Because we don’t need such rapid fermentation, we can also use less yeast and skip the sugar, and avoid that taste of an overly yeasty crust which you might associate with amateur home baking.
The sugars in the flour are enough for the yeast to get to work so you don’t need to add any. And less yeast doesn’t mean smaller bubbles, as you are giving it much more time to develop.
Cold temperatures won’t kill yeast but just slows fermentation, so an airtight container or plastic wrapped dough in the fridge works well. Proofing for 24 hours is a good minimum, but the taste will develop for days to come. Around 2-3 days is the optimum before it starts deteriorating.
Method:
- Knead the dough until smooth
- Proof the dough for an hour, covered so it is air tight
- Transfer to the refrigerator as a whole piece and bulk ferment overnight (24-48 hours is better)
- Remove quantity of dough needed. Around 250g for 12″ base
- De-gas the dough and form into balls
- Proof for 2 hours to allow to return to room temperature, under an upturned bowl
Outcomes:
- Depth of flavour improved
- Air bubbles throughout for lighter, crispier texture
- Relaxed dough for bigger rise and crust holes
- Easier to stretch out
Why Proofing Your Dough For Longer Is Better?
When the dough is proofing, the ingredients in the dough are actually fermenting. Yeast consumes sugars in the flour and produces alcohol and carbon dioxide. It is this gas which makes the dough filled with bubbles, and rises up.
Fermentation also affects your dough in two other ways. Byproducts of the fermenting process adds a depth of flavour and the longer rest improves the texture. This is because the stretchy gluten network you built up during kneading relaxes over time. A more relaxed dough will be able to rise more easily when cooked, making it crispier and full of large holes.
The warmth speeds up the yeast activity so it produces more carbon dioxide and rises faster, so you may think you are helping yourself. But the flavour takes more time to develop!
So while it is tempting to try and speed your dough process up – it won’t produce a pizza which has a good texture or taste.
How To Tell When Pizza Dough is Proofed?
There are two easy tests to tell if your dough is ready!

Dough Volume Increased
Most doughs usually double in volume when proofed, meaning that if your dough has not grown much in volume yet it probably needs to proof longer.
The Poke Test
Press the dough gently with our knuckle or finger to determine if it is properly proofed and ready. If the dough springs back right away, it needs more proofing. But if it springs back slowly and leaves a small indent, it's ready to become a delicious pizza!
What Happens If You Don’t Proof Pizza Dough?
If you don’t proof the dough then you will get a crust which has very little rise and small air pockets. Some dough are like this though – think of flat bread and other unleavened bread which contains no yeast.
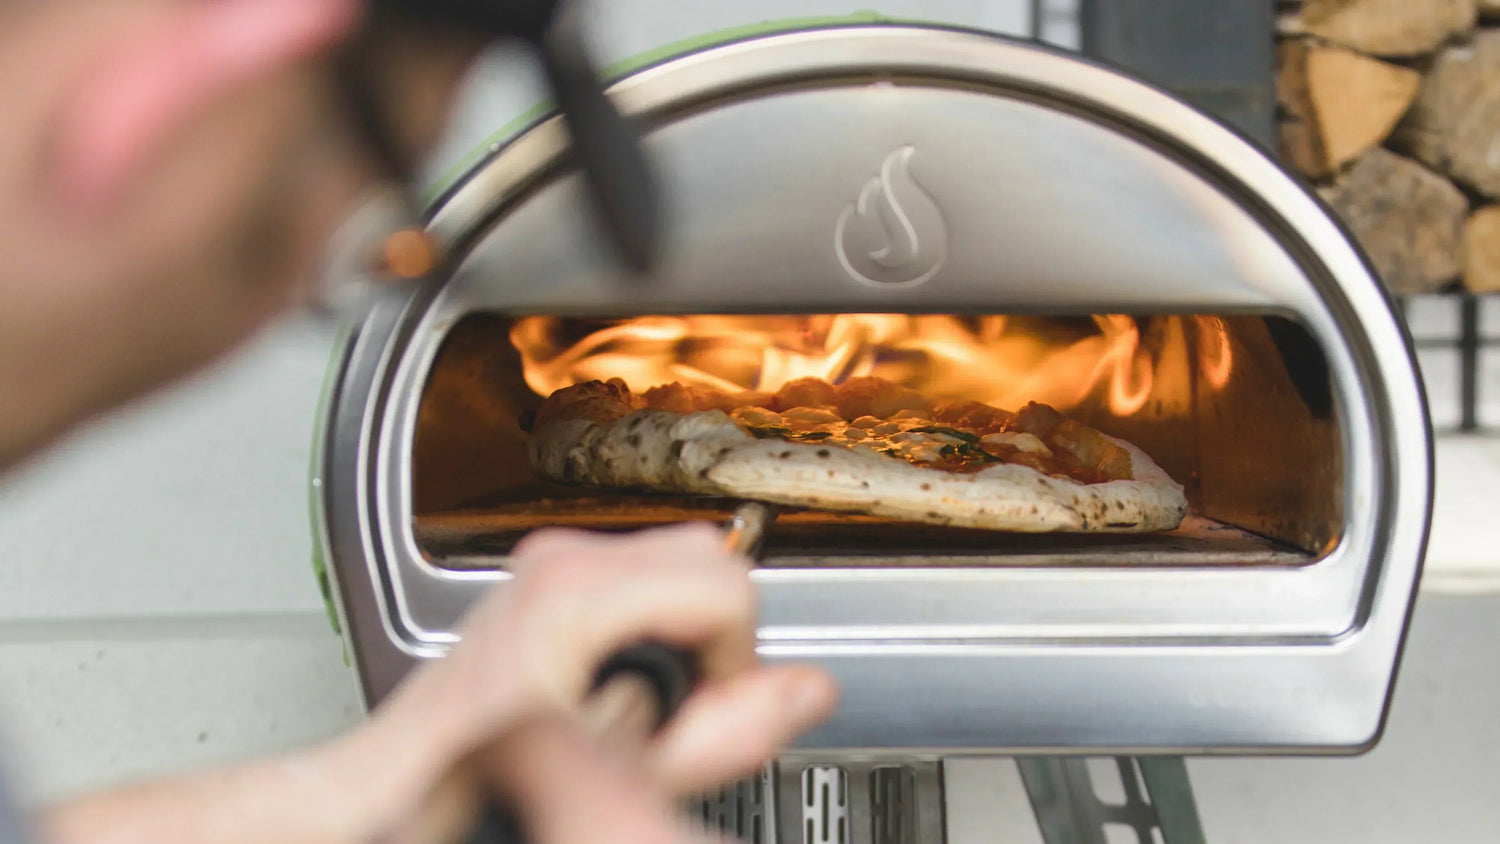
The pizza will be quite dense and chewy if you make the crust thick. So we would advise to roll the dough out thinly, and make more of a cracker style pizza base. Get it nice and thin, and then crisp it up.
How To Open Pizza Dough
Ready to turn your dough into delicious pizza? Learn how to open a dough ball into the perfect pizza skin with our In-House Chef Joe.
How To Store The Dough?
Not going to eat all the prepared dough? We don't believe it can happen either...but just in case, learn how to freeze your leftover pizza dough!
Now that you are a dough pro, have a look at our recipes and fire up your pizza oven! And don't forget to browse Gozney's range of Pizza Dough Tools.